How to Make Kombucha at Home and Flavor It – The Fitnessista
Sharing tips on how to make and flavor your kombucha at home!
Hi friends! Hope you’re having a lovely morning! I’ll be back on Friday with some faves, but in the meantime, here’s a post from the archives. If you’re curious about brewing kombucha at home, here’s the full how-to!
So, it FINALLY HAPPENED.
After about a year (maybe a little longer?) of inconsistently making kombucha at home, I finally made some that tastes even better than store-bought stuff.
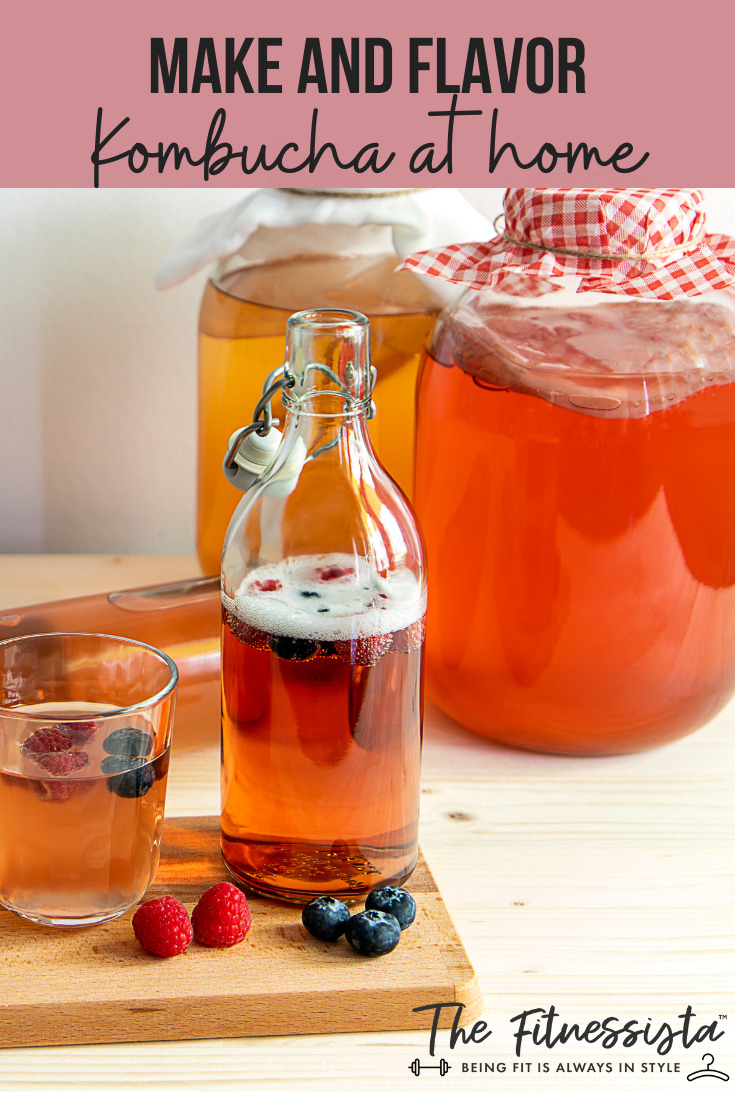
How To Make And Flavor Kombucha At Home
Tips on How to Make Kombucha at Home
-I followed the steps in this post but will outline them again, updated with the current techniques.
1) The quality of the SCOBY (the starter bacteria that looks like a flat, opaque gummy disk) makes all the difference in the world. I got an awesome SCOBY from Amazon, but I’ve also ordered a dud that ended up molding. (A little tidbit about mold: a lot of people are rightfully fearful about making moldy or bad kombucha. If the batch is bad, it’s an obvious thing. You will know it’s bad just by looking at it. The SCOBY will have blue or greenish patches on it, and well, it will look like mold. Don’t drink it; throw it away to start over.) The SCOBY I picked up from the farmer’s market in Ocean Beach is a BEAST.
(I got a bottle from the farmer’s market, filled with SCOBY strands and starter tea. To say I was skeptical would be an understatement. Shame on me.)
I’ve made multiple batches with said amazing SCOBY and also gave one to Whitney; she now has a full-up SCOBY hotel.
I like ‘em thick.
Scoby handling guidelines: always make sure your hands, tools, container, and anything that comes in contact with the SCOBY, are fully sanitized. Do not touch the SCOBY (or stir your kombucha) with anything metal; it can destroy it. Use wood or plastic tools instead.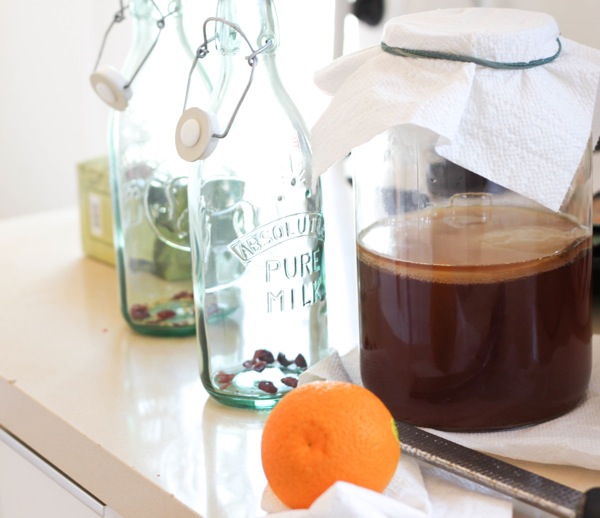
The Kombucha Fermentation Process
2) After you have your SCOBY, make your starter tea (black and green tea with NO added essential oils work well). I like Newman’s Own organic black tea. 8-10 cups of water to 8-10 bags of tea (equal water: tea ratio). After the water comes up to a boil, I add the tea bags, remove from the heat and stir in one cup of organic sugar. Let the tea cool completely to room temperature before straining it and pouring it into your kombucha jar (this is a perfect one).
3) Next, you’ll add about 2 cups of starter liquid (or whatever came with your SCOBY), and gently place the SCOBY on top. If the SCOBY and tea are at the same temperature, they will float beautifully to the top. If it sinks to the bottom, NBD. Just let it swim around and a new SCOBY will grow on top.
4) Cover it with cheesecloth or a paper towel (covered to protect, but with something that will enable it to breathe) and secure it with an elastic band before placing it in a dark cabinet to ferment. Avoid looking at it while it’s fermenting (the kombucha is brewing!), and start checking the taste of the mixture in about a week. This is where you’ll decide how tangy or sweet you like it.
Dip a clean plastic spoon into the ‘buch and give it a taste. If it’s to your liking, you’re ready for a second ferment! If it’s too sweet, give it a couple more days to become more tangy/acidic. Or if it’s too tangy, move on to the next step (flavoring and second fermentation) and add some extra fruit juice.
The duration of your kombucha fermentation will vary based on your climate and taste preferences. In hot Tucson, it was ready in about a week. In cooler weather, it could take up to two weeks. Be patient, young grasshopper.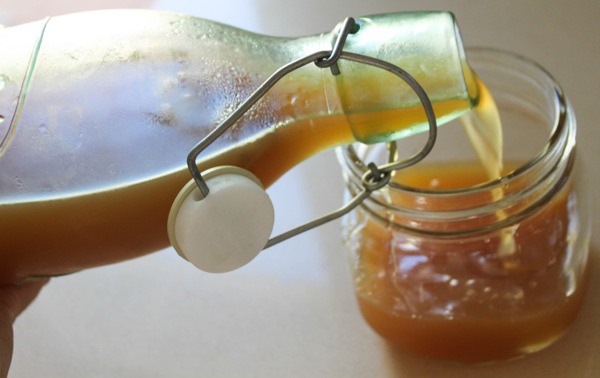
Kombucha Brewing
5) So, you’re ready for your second fermentation, and the fun part is you get to add flavorings to your kombucha! Get another jar or two (that has a flip lid, like these), or some airtight bottles like mason jars for the second round of fermentation + flavoring the mixture.
Here are some flavor ideas:
- Fruit juice (apple, berry, orange)
- Berries (raspberries, blueberries, strawberries); I’d recommend using fresh vs. frozen fruit
- Herbs (lavender, dried ginger, mint)
- Fresh ginger for that zing!
- Strawberry basil is also a favorite combo of mine. Have fun experimenting!
To each jar or bottle, add some juice, herbs (if you’d like) and (this is KEY) some dried fruit (like dried cranberries or raisins). The sugar in the dried fruit will continue to feed the bacteria, and will also make the kombucha fizzy. Another thing that helps will fizz factor: dried ginger. This stuff is particularly awesome; a little (like a hefty pinch for each Mason jar) goes a long way. Pour the kombucha into each jar or bottle, but be sure to leave at least 2 cups of kombucha in the original jar to use as your “starter tea” for the next batch.
6) Seal the flavored kombucha and place it back in the pantry (in a dark, temperate spot) for 2-3 days.
7) Next, you’ll transfer the jars/bottles from the pantry to the fridge to chill and enjoy! (if you used any “whole” fruits, herbs, or berries, strain the mixture before sealing again to place in the fridge.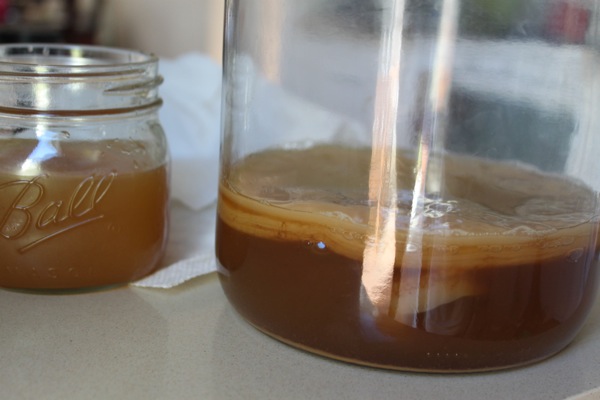
Alternate Recipe: Homemade Orange Cranberry Ginger Kombucha
It was getting close, and I was happy with the fruit flavor combos I’d tried, but it was always a little too tangy, too sweet, not fizzy enough, etc.
After quite a bit of experimentation, I got the result I’d been searching for for my finished kombucha; it was a glorious moment indeed. A warm embrace was shared with the kombucha jar before holding the SCOBY in the air like a baby Simba while singing a celebratory chant.
(Ok, just in my mind.)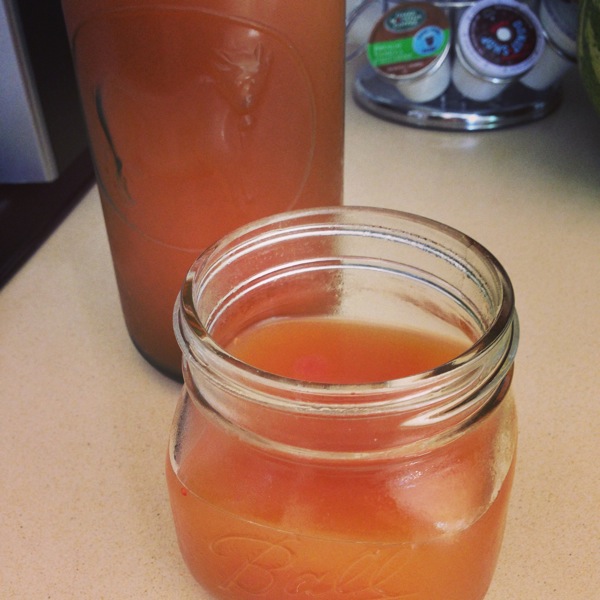
How Much Alcohol Is in Kombucha?
Ah, the delightful world of kombucha! Did you know that this fizzy fermented beverage has been around for centuries? Quite impressive, right? Now, let’s get down to the fun part – the alcohol content.
You’ll be happy to know that most commercial kombucha brands contain small amounts of alcohol, usually below 0.5%. Ah, just a smidge! This is because, during the fermentation process, the friendly bacteria and yeast buddies work their magic and convert some of the natural sugars into alcohol. Don’t fret, though! It’s only a trace amount and won’t leave you feeling tipsy. So enjoy your kombucha without worrying about a surprise visit from the booze brigade!
What is the Best Time to Drink Kombucha?
Can you imagine delighting in its effervescent pick-me-up during the daytime to steer clear of caffeine-induced sleep disruptions?
With kombucha, there’s a world of flavor-infused possibilities to explore.
After you gently burp the bottles to release carbonation and prevent fizzy fountain mishaps, turn your trusty gallon jar into a playground of kombucha creativity by adding fresh or dried lemon and ginger for that zesty kick. And don’t forget the heart and soul of any kombucha recipe – the sweet tea that kickstarts fermentation, sweetened further with fresh fruit chunks for an explosion of delightful flavors. So, my friend, raise your glass and embrace the freedom to sip kombucha at any time that brings you joy, flavor, and a refreshingly healthy gut. Cheers to your kombucha happiness!
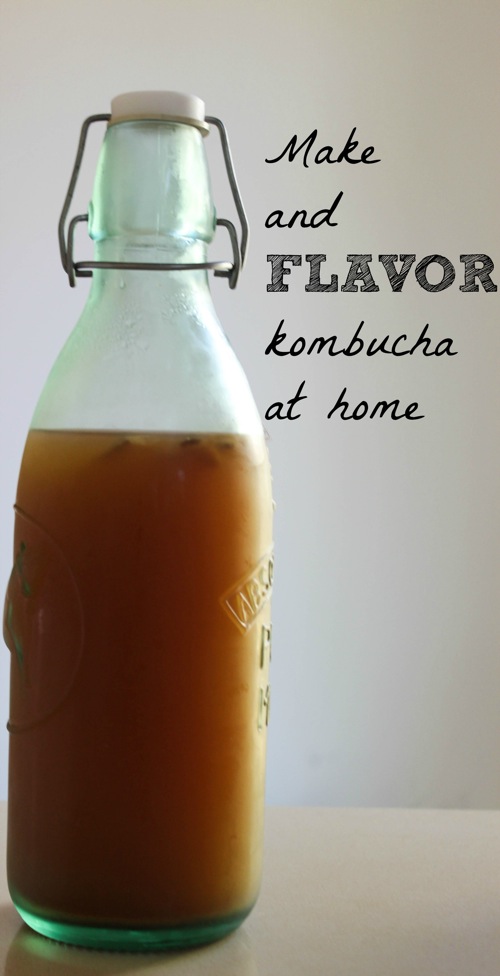
Make and flavor kombucha at home! Way less expensive than buying it, and you can customize your flavors. It’s not as scary as it looks.
Don’t let your kombucha dreams stay dreams – start brewing today and unleash your flavor potential!
So what do you do with the old bottle of kombucha (which now has the old “Mother” SCOBY in it + the new layer of “baby” SCOBY growing on top)? You separate the baby from the mother (yes, this involves touching it with your hands and cringing as you peel the slimy layers apart). The baby SCOBY can now venture on its own into the world to make its kombucha (so you can have two batches growing at once). Or even better: put it in a baggie with some starter tea and gift it to a friend! The gift that keeps on giving haha.
A little tip: I only use one SCOBY for a max of two batches of kombucha, and then will switch over to the baby SCOBY. They become weaker with each batch, so it’s good to switch to a new SCOBY after a couple of rounds.
Hope this helped those of you who were considering making your kombucha!
Kombucha: yay or nay? Have you ever made kombucha at home? If so, what are your favorite flavors? Is anything unique that you like to make or ferment? I would love to experiment with homemade ghee or goat cheese!
xoxo
Gina
Credit: How to Make Kombucha at Home and Flavor It – The Fitnessista